From poorly-formed idea in your head to poorly-formed plastic in your hand: How to 3D Print
by Max in April 2022
One hidden perk of home ownership
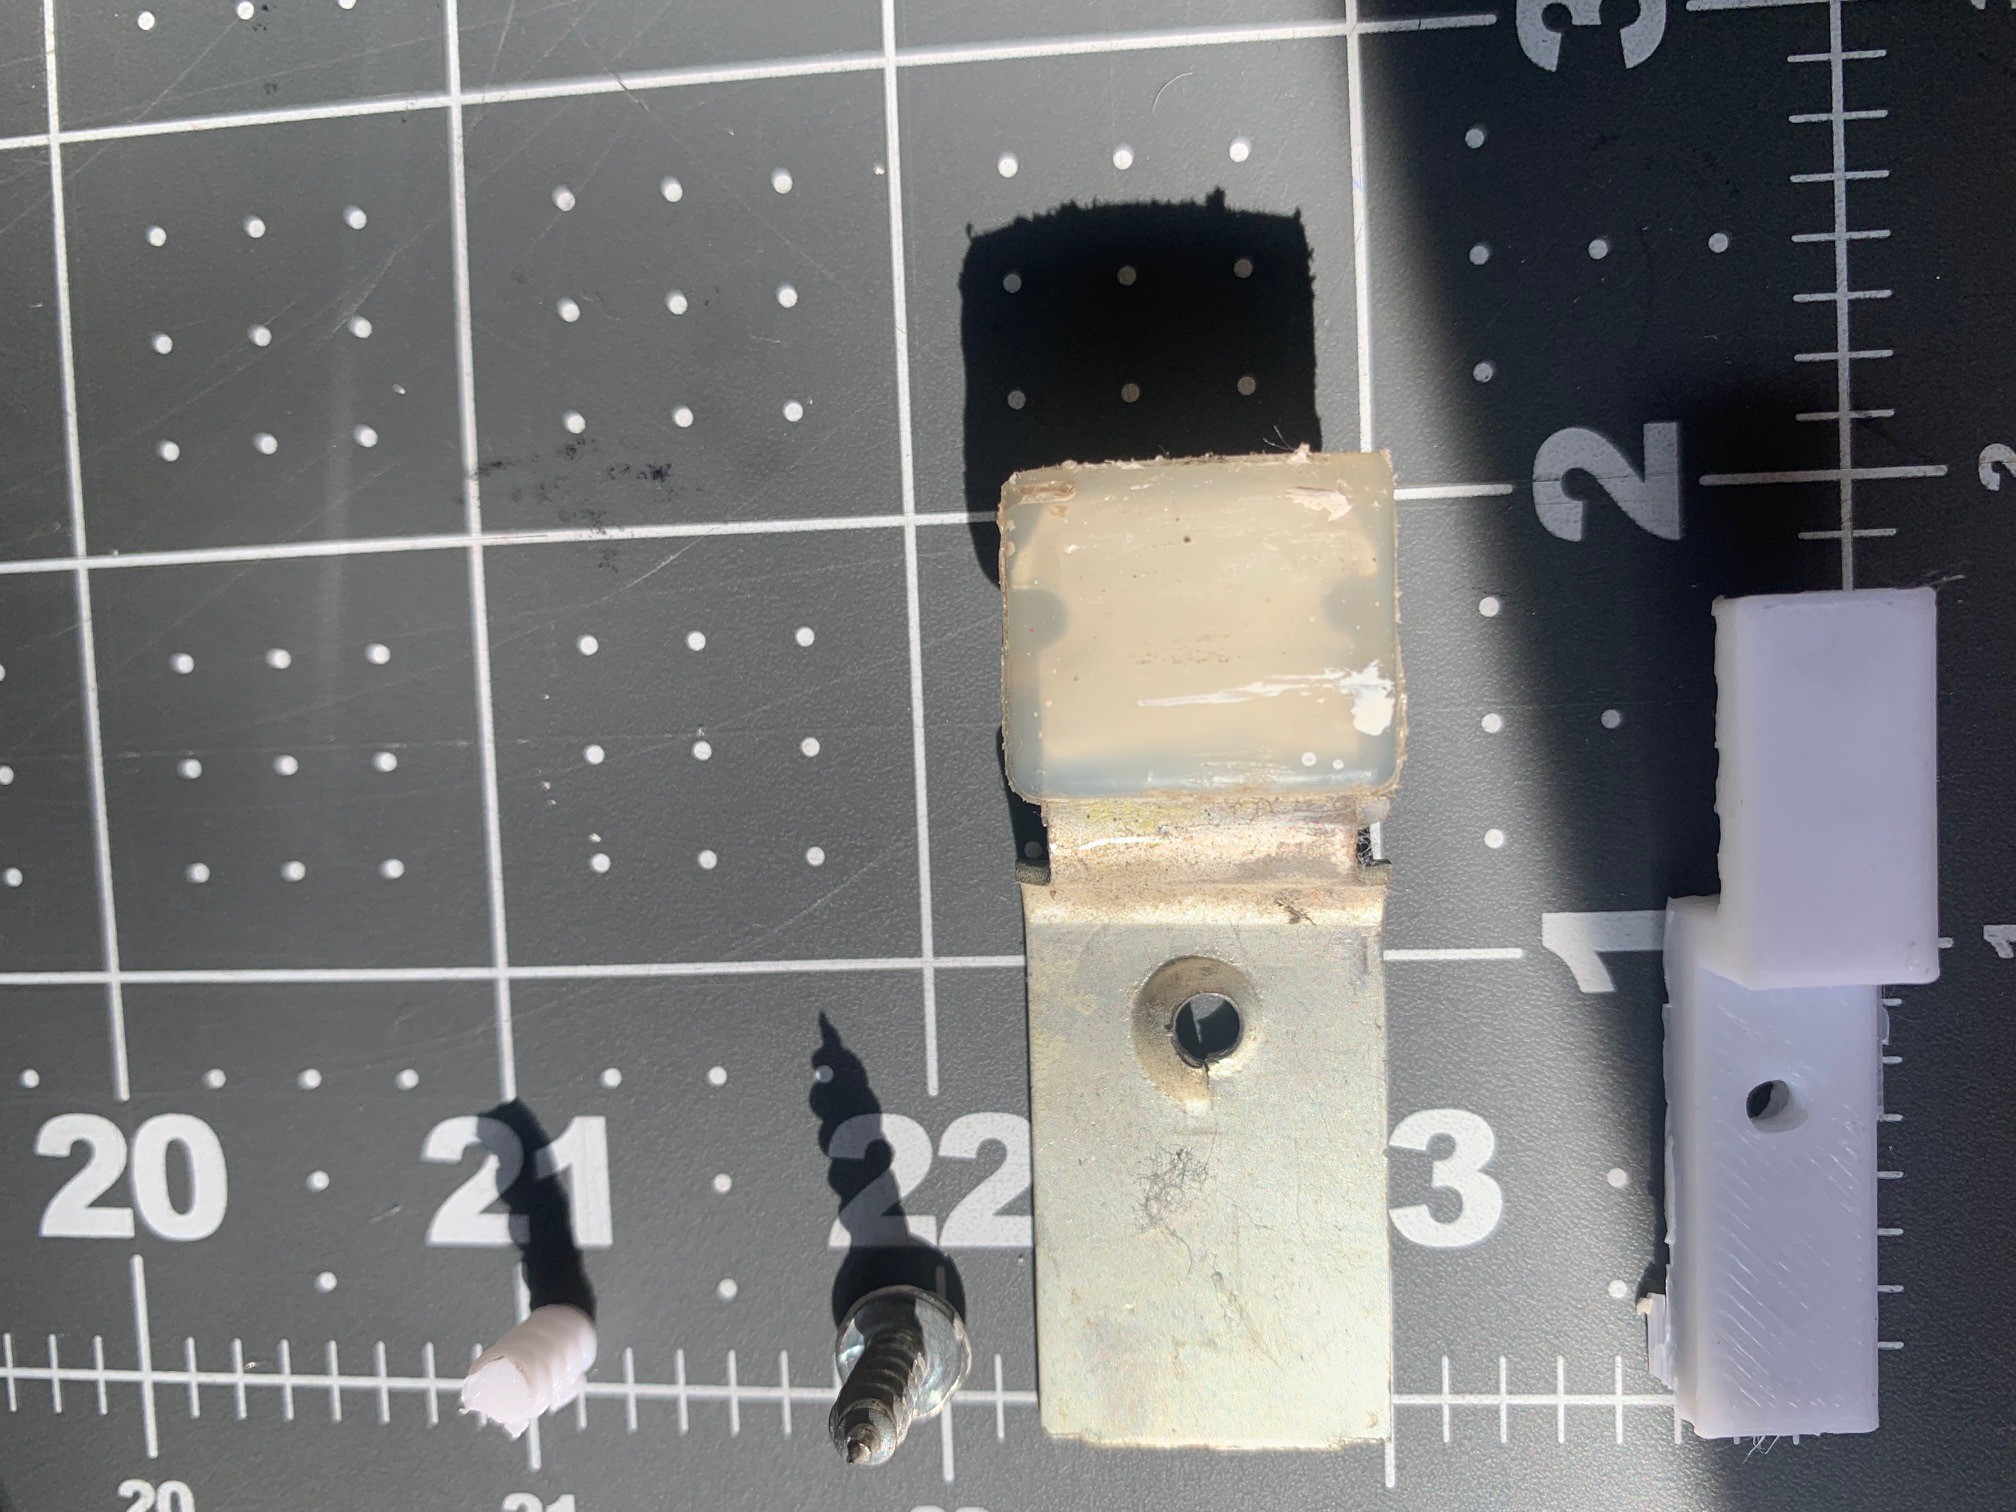
Is that you all of the sudden own thousands of small doodads you would never think to individually purchase. For example, my home includes three closets, all of which have two sliding doors. Sliding doors typically have guides they glide along. My doors use two little metal tabs to interface with the guides that looks like this:
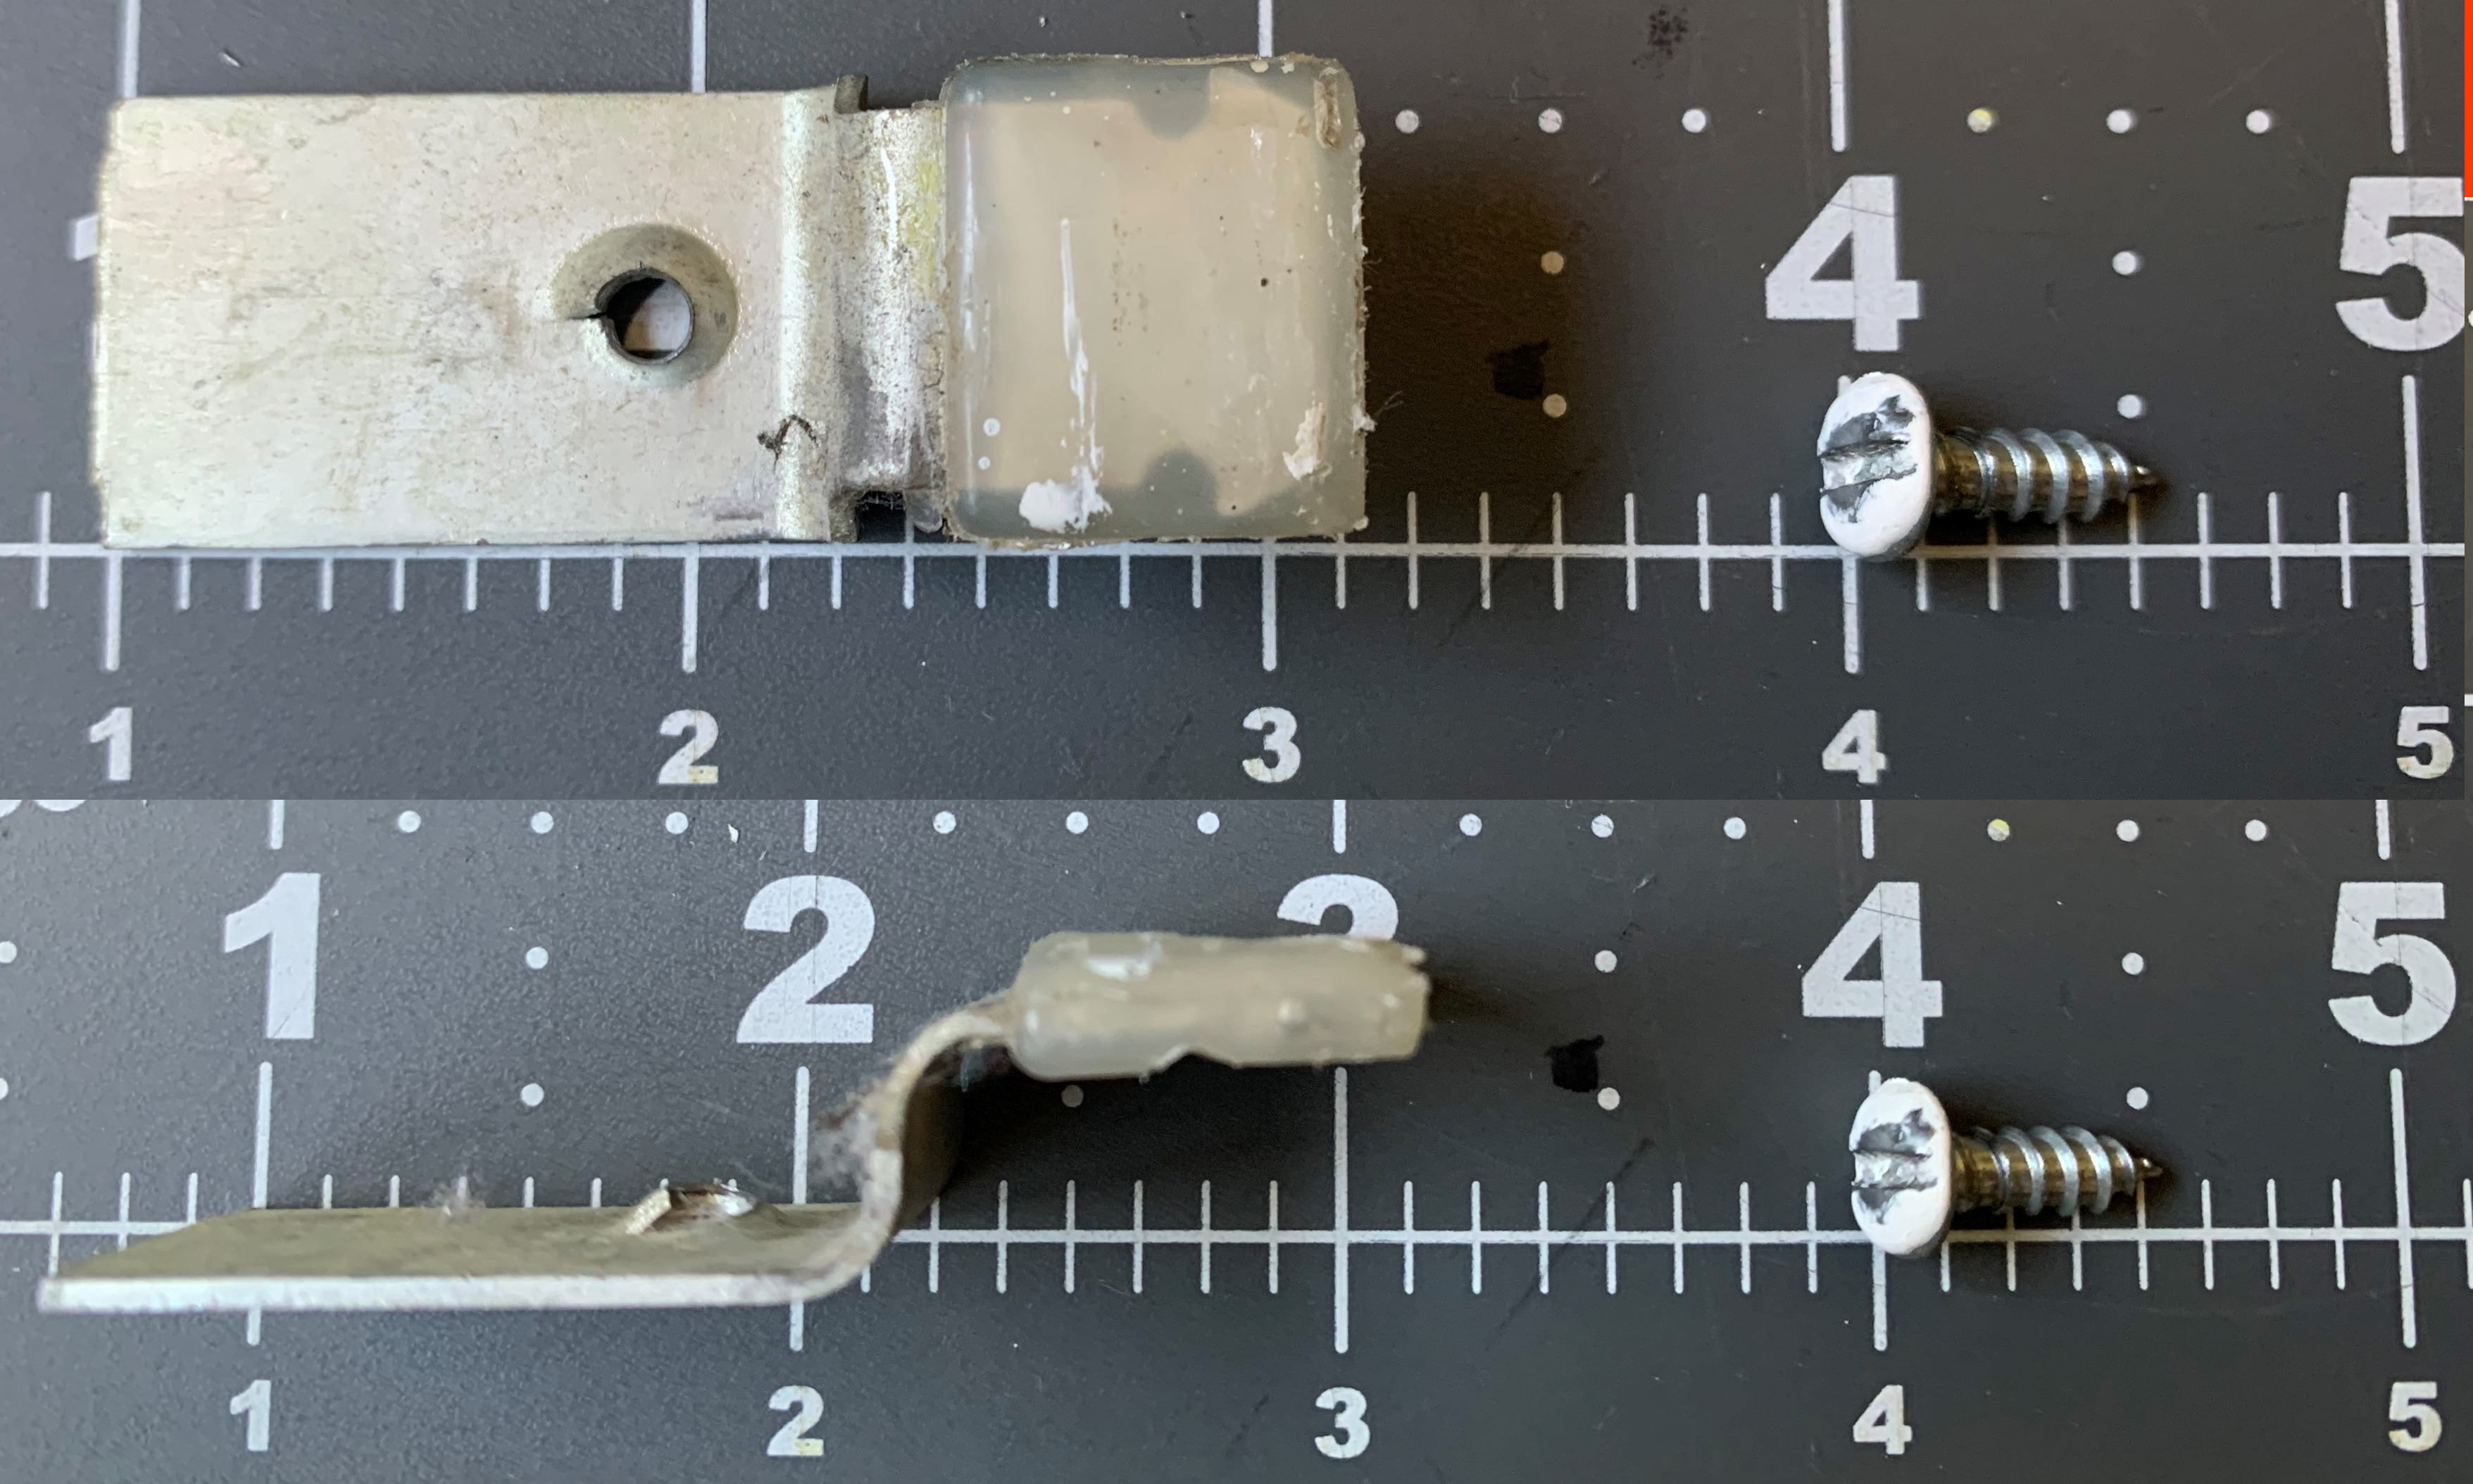
So in addition to the three closets and six doors, I also own three guides and ten tabs. 6 x 2 = 10, right?
So you’ve got an idea you’d like you print, but lack the skill to do it
My primary strategy for solving large complex problems is to try to split it into many simpler subproblems. I’m going to tackle this whole 3D printing as if it is one such problem.
The Pipeline
As best as I can tell, the general workflow is:
- Come up with an idea. My home does this for me unfortunately…
- Turn the idea into an
object file. Typically an.stl - Give object file to
slicing softwarewhich will prepare it for your printer.
So I’m going to try to apply this to my three missing closet tab problem!
An aside…
Despite there appearing to be an entire world on the other side of the screen when you’re playing a game or watching a movie or consuming any piece of fiction, there is not. Artists take short cuts in what they depict to cut costs. For example, movie sets only include the facades of the buildings they depict. So too, shall I use my 3D printer to complete the illusion that our 60+ year old house functions well. Just kidding. Or not…
I don’t have any aspirations of becoming 3D printing handy man right now… I just want to learn how to use the gadget I recently acquired. So with this project I’m going to optimize for ease of learning and time. I think its good to have a proof of concept before setting goals on building a “robust solution” or understanding for this type of work.
Getting to an STL
This step is agnostic to your 3D printer’s brand. The .stl file format is pretty ubiquitous for 3D modeling. My first goal is to find or create one of these to support my needs.
Finding the right software
There exist hundreds of software solutions for building STL files. The file standard has existed for over 35 years in some form. Autodesk is probably the most well known company in this area. You can use a proprietary tool like their AutoCAD or more noob-friendly TinkerCAD to build your object. Or you can use a FOSS program like Blender. Or you can use a whole variety of other programs for a variety of different reasons.
From my perspective as a hobbyist, I found TinkerCAD and Blender to have the most interesting value propositions.
I built my first 3D printing project in Blender. FOSS is typically valuable beyond its utility. The prospect of contributing to the technology is attractive, but the tool is very complicated and I am an amateur. This is something I intend to revisit as I learn more.
The primary pro for TinkerCAD is that it does a lot of the work for me. I don’t think closet tab is anything ground breaking or off-the-beaten-path, so I anticipate the noob-friendliness to play in my favor. Specifically, I am anticipating the screw being more difficult in other technologies.
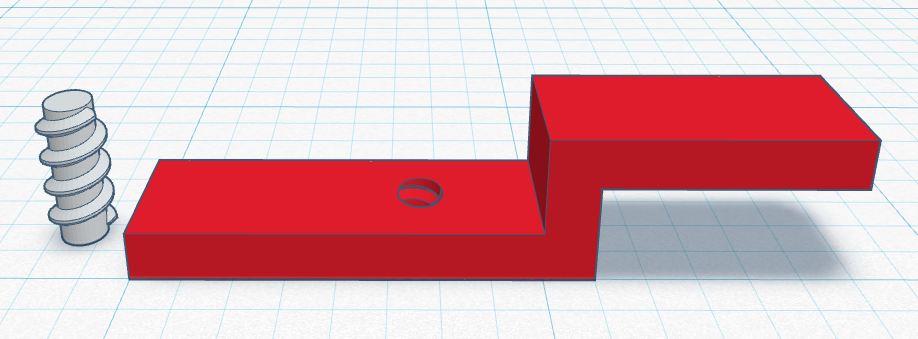
Constructing the model
This first attempt is intentionally rudimentary. Using three boxes, a screw shape generator, and a duplicate of it turned into a hole I managed to mock up a test tab. There wasn’t much to note here. I found this youtube video useful for understanding how to create the hole. I think this is one of those things where choosing the right tool for the project made it simple.
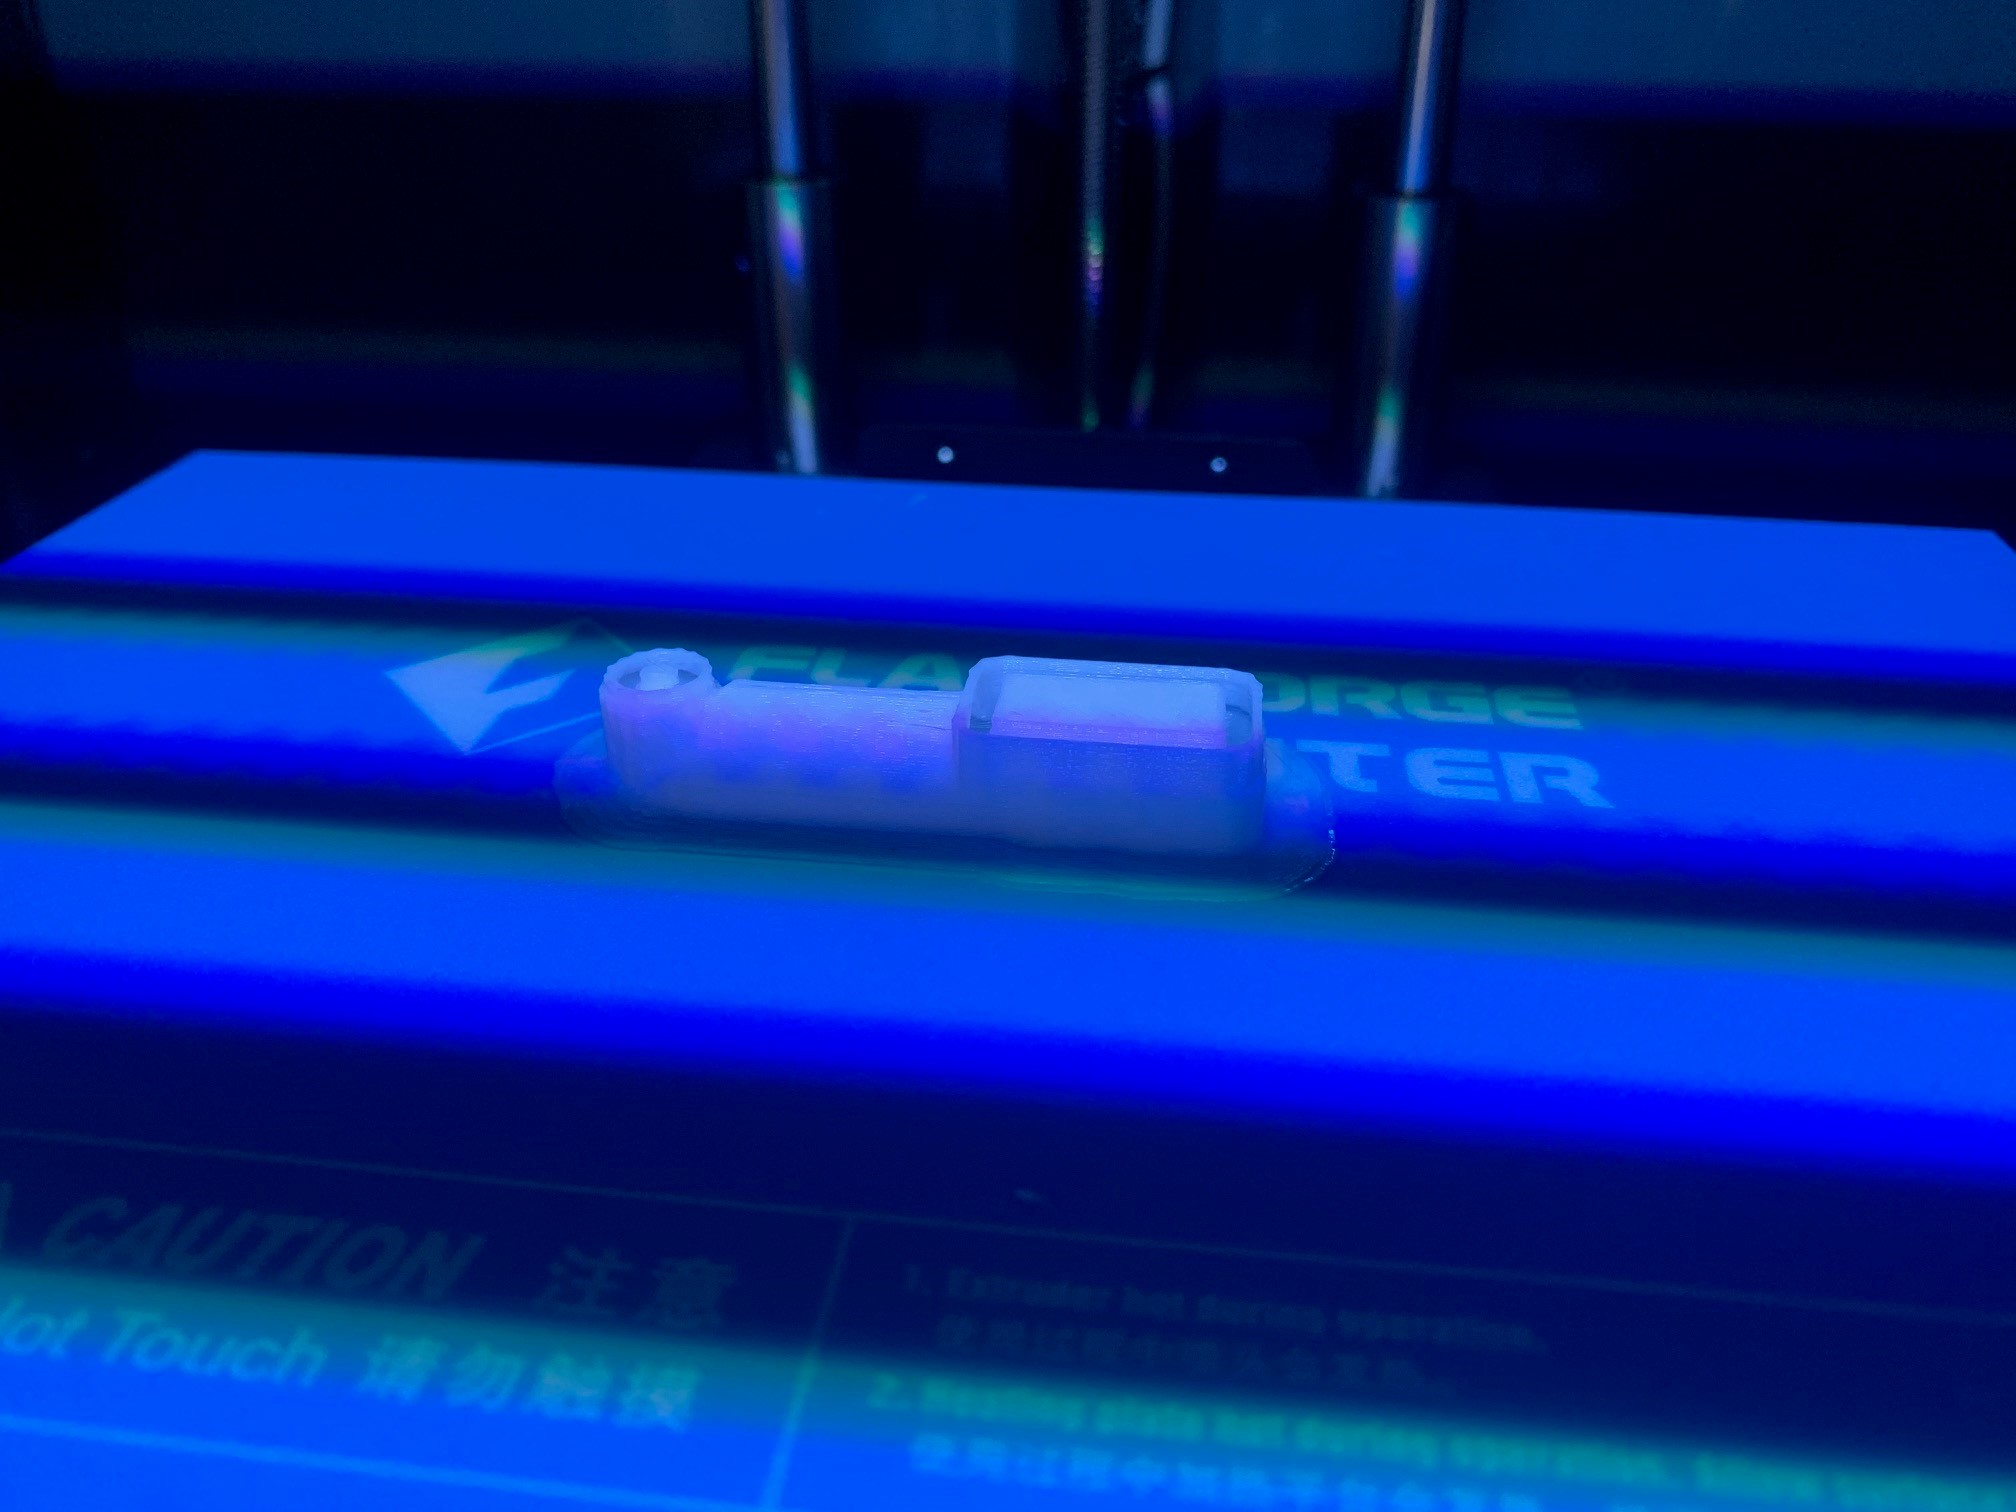
Slicing and dicing
This step is printer specific. I have a Flash Forge Creator Pro 2. This is the search I performed to find my printer’s software. If you have a different printer, you should adapt the query accordingly. Eventually I settled on FlashPrint 5.
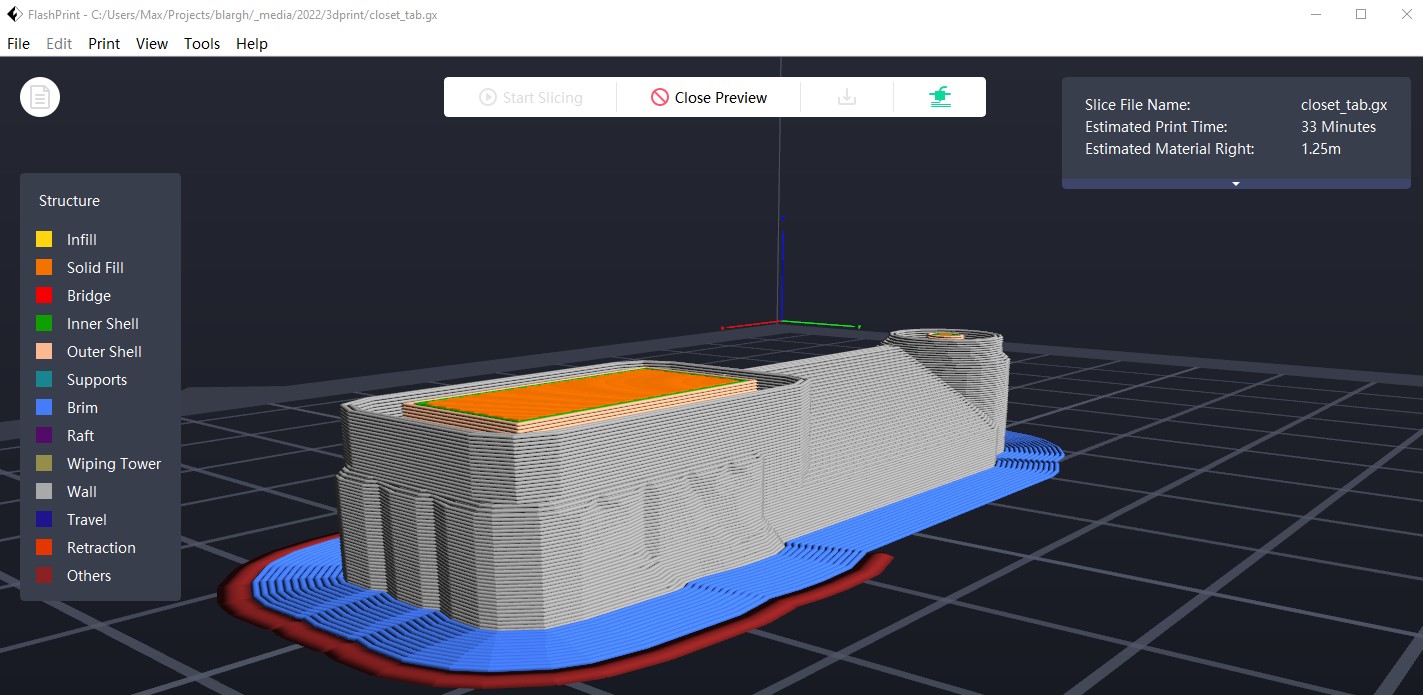
Importing the STL
I opened the software and loaded my closet_tab.stl. There are a ludicrous number of tutorials on how to do this. I printed a brim and shell to hopefully get something slightly closer to what I intend to print. The slicing image (which shows the general path the printer is going to take):
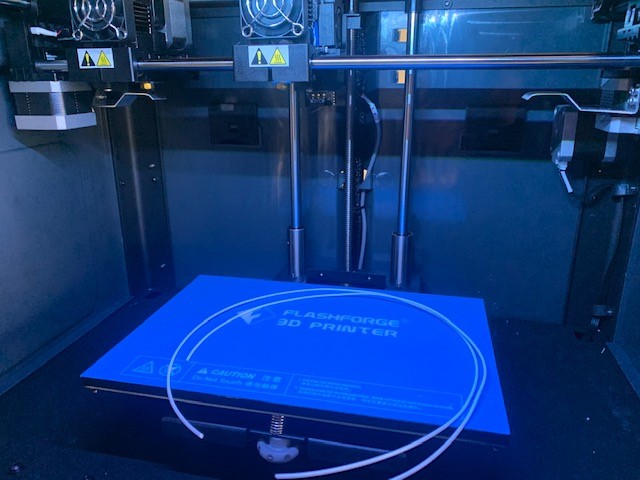
3D Printer goes brrrr
Look at this great pic I snapped of my first print:
The plastic that feeds into the auger broke, so we did an air print. Let’s fix that…
Okay. That’s better. After rescuing the tab from its printed prison:
Learn, build, fail, learn
Call back, the second rule of comedy
Obviously, I whiffed on the measurements. The increased thickness of my solution was intentional, as it is plastic instead of metal. I think I scaled the object incorrectly in FlashPrint, resulting in a height and width being off. That should be an easy fix. The screw is too large for the hole in the tab, but weirdly is correctly scaled relative to the original. I need to look into what additional spacing I should put on the hole version of the screw to get it to scale correctly relative to the original.
The tab actually works when wedged in place! I used the screw of the other door tab and it interfaces correctly and provides the correct guiding functionality.
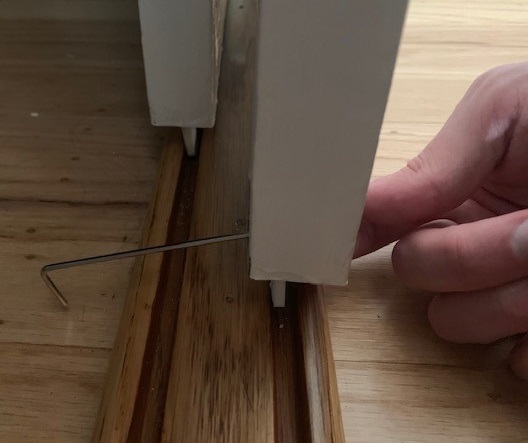 Testing the fit before screwing the old tab’s screw in.
The metal screw is doing quite a bit in the guide. I’m not confident a plastic screw would actually offer the same structural stability. I think otherwise this project has gotten to a good enough state. Not perfect. From here I’m going to:
- Scale the plastic tab component in the
.stlfile while keeping the screw untouched. - Add a little extra lip onto the screw so it will adhere the tab to the door.
- Reimport the file into the slicing software. Double check my scaling!
- Print two more tabs!
- After retrieving them and their screws, decide on whether a metal screw is necessary. If so, I’ll be heading off to the hardware store.
Final results
I roughly doubled the width of the tab in TinkerCAD, resliced, and printed. After playing around a bit with the idea of printing a screw, I abandoned that effort and instead opted for some 8-32 machine screws.
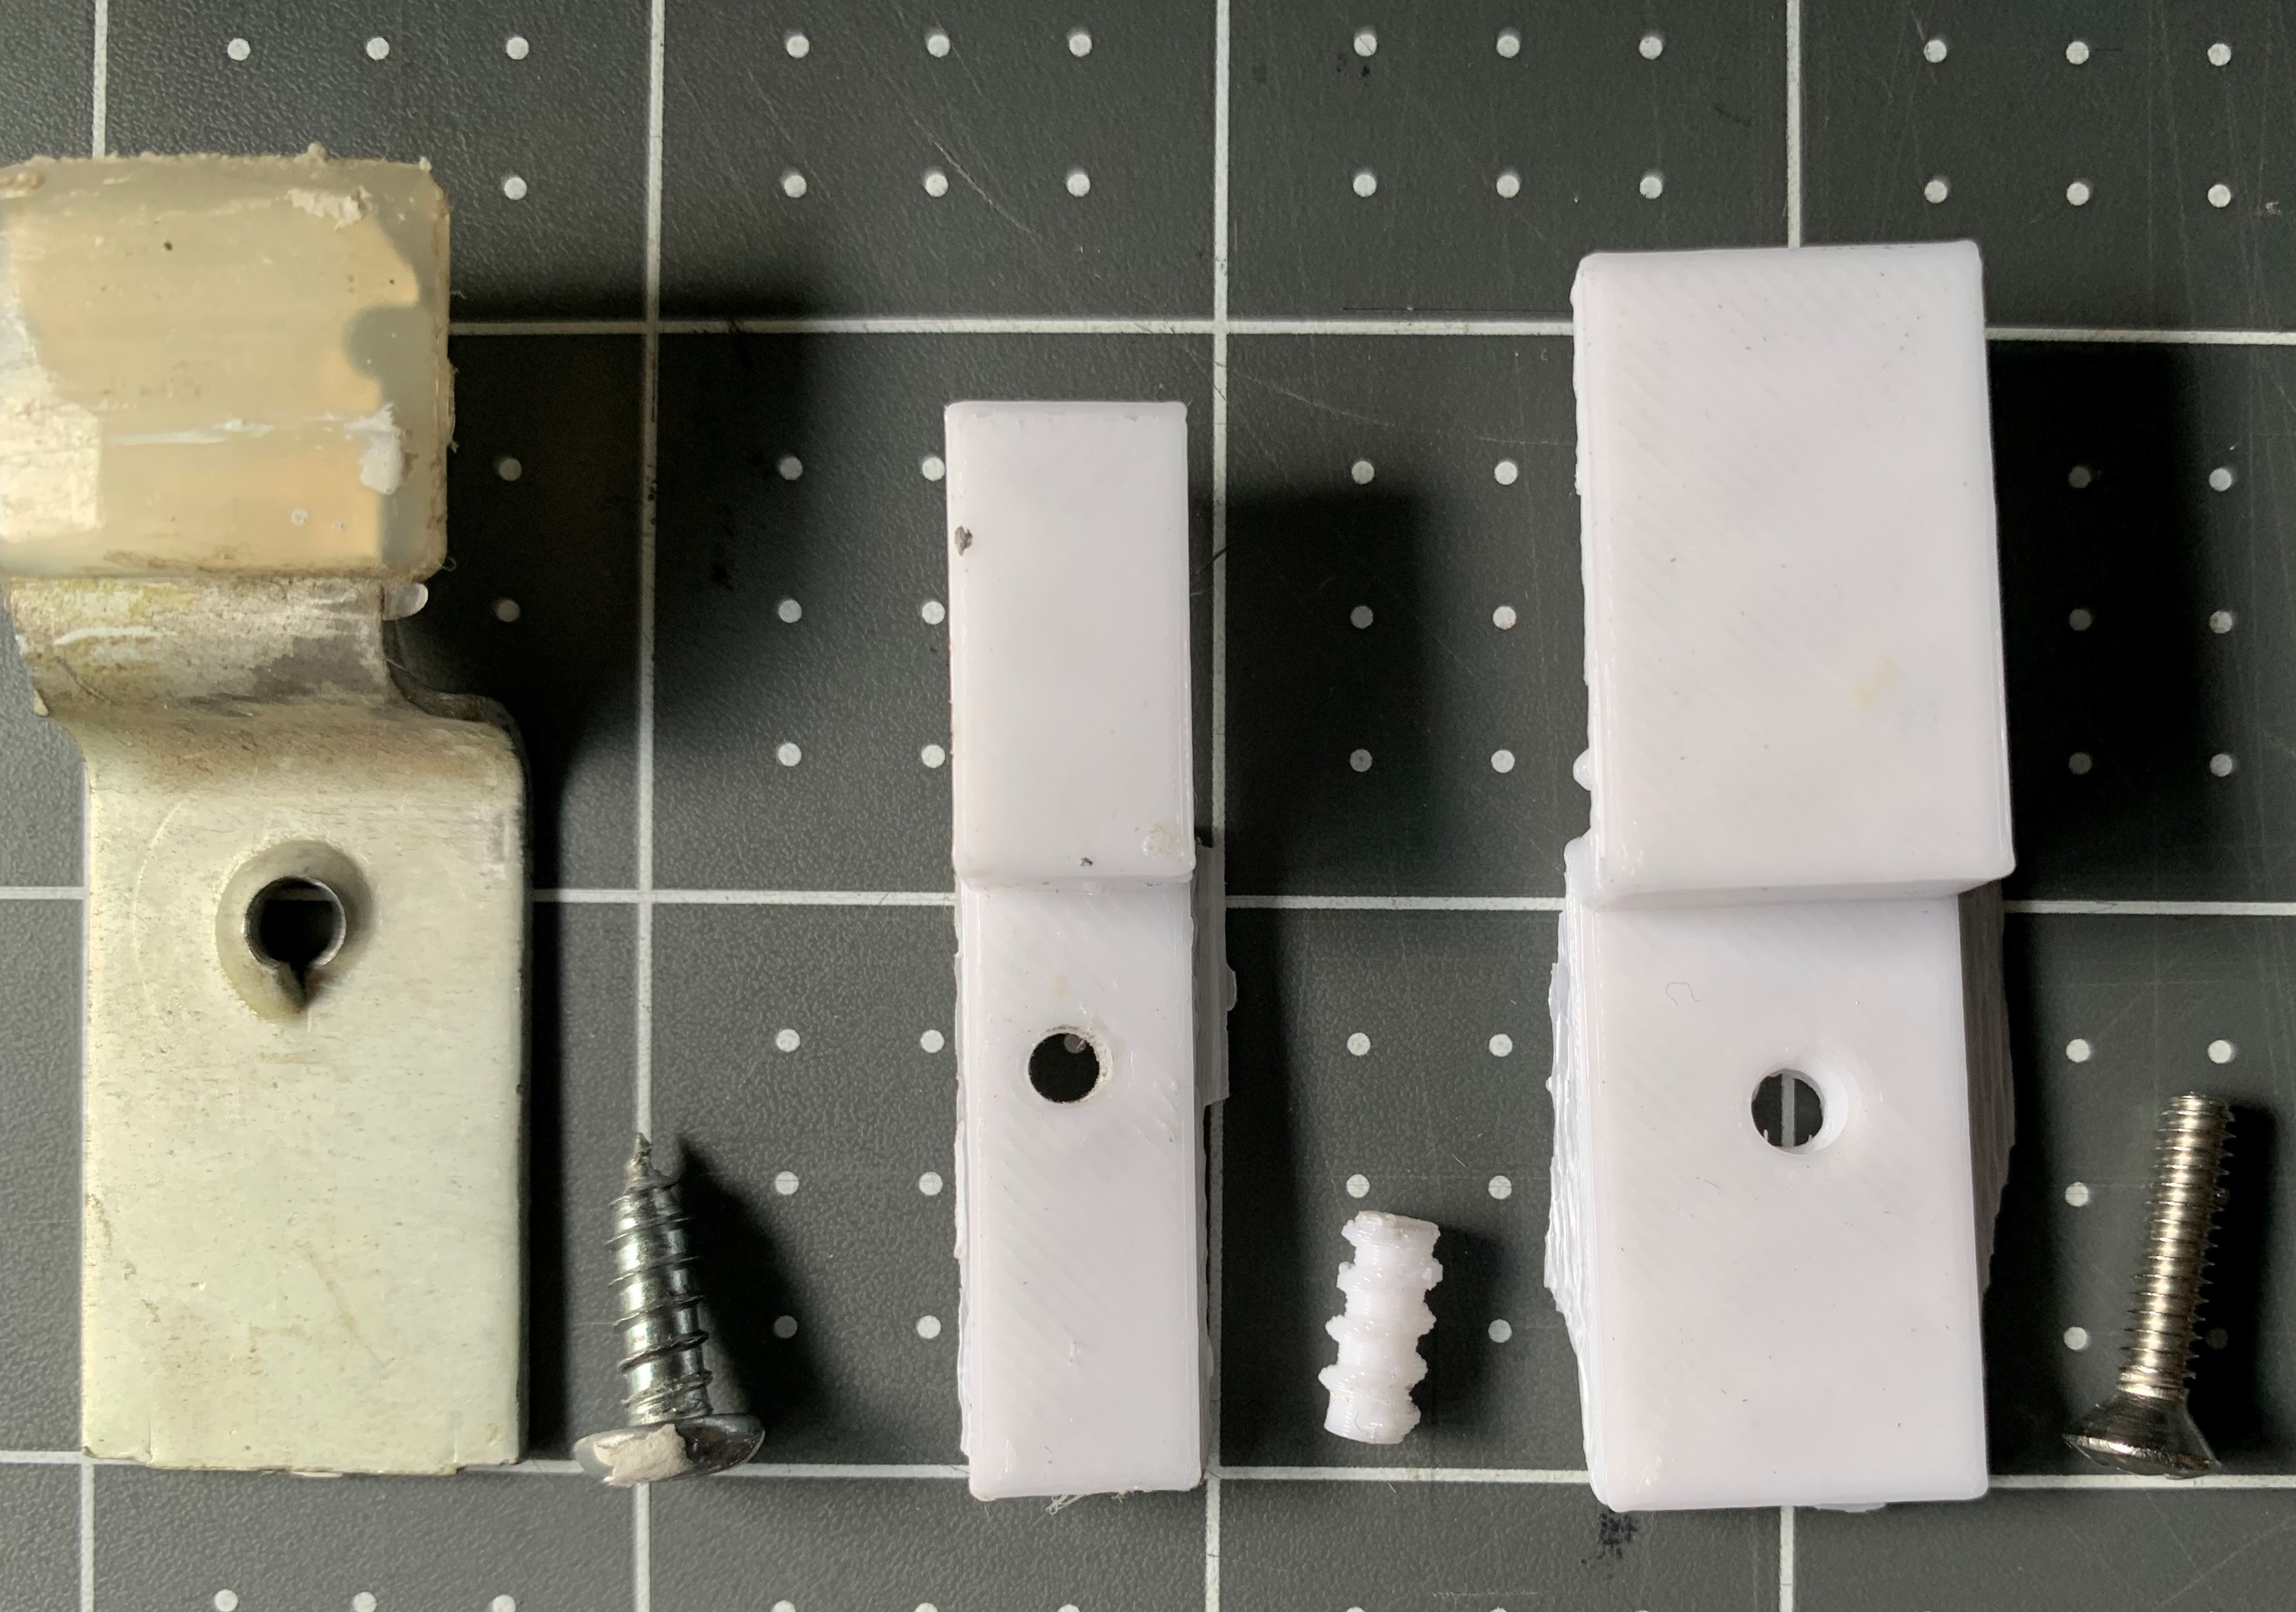
After validating with the first print that this is what I wanted, I rotated the model on its side and duplicated it in FlashPrint. This saved me about 15 minutes of printing time, surprisingly.

I am extremely whelmed by the results.